Tempest EPG Generator
The Most Advanced Programmable GUI XMLTV EPG Generator
![]()

![]()
![]()


| Total Siteconfigs | Total Countries | Total Channels |
| :---: | :---: | :---: |
| 750 | 156 | +334500 |
Hi everyone. I will not be available for a while due to personal issues..
Hope to see you soon again..


This work is licensed under a Creative Commons Attribution-NonCommercial-NoDerivatives 4.0 International License.
Copyright © 2019-2025 by Kivanc Altug
Contact Info:
📧 tempestepg@gmail.com
 ## What is Tempest? Tempest is a fully programmable XMLTV formatted EPG(Electronic Program Guide) generator bundled in a single php file with;
✔ Graphical User Interface (GUI) & Optimization For Mobile Devices
✔ Multiple Website Configuration Support
✔ The Highest Scrapping/Generating Speed
✔ The Lowest Memory Consumption For Best Performance On All Devices
✔ Multiple Platform Support (Windows/Unix etc.)
✔ All-in-One Single File Without Need For Any External Library/Software
✔ Multiple Async URL Support Up to 10
✔ Full Support For XMLTV Standart Elements
✔ Daylight Saving Time(DST) Support For Automatic Time Offset Changes
✔ Easy Configuration Maker & Editor
✔ Powerful & Simple Command Syntax For Combo-Operations/Modifications
✔ Unlimited Command Usage
✔ Scrapping Engine Built with Regex (Regular Expression) For Powerful Operations
✔ Built-In Cyclone Module to Add Alternative For Failed Channel
✔ Built-In Time Converter to Change Times of All Shows Into Requested Time Offset (DST Support)
✔ Built-In Inverter Module to Modify/Move XMLTV Elements Into Other Elements With Requested Order & Style
✔ Built-In Fusion Module to Keep Previous Dated Shows Upto 15 Days For Catch-Up Service
✔ Built-In GUI Configuration Maker With Channel Picker/Editor & Auto-Duplicate Channel Verification
✔ Built-In GUI Configuration Debugger
✔ Built-In File Downloader (via GUI) & Gz/Zip Compression Support
✔ Built-In Configuration Updater to Download Latest Revisions
✔ Built-In Tempest Updater to Update Tempest Version
✔ Built-In XMLMerger Module to Combine Multiple EPG Files into Single
✔ Built-In Synchrotron Module for Parallel EPG Grabbing
✔ Multiple Configuration File Support Up to 5000 Channels For Each
✔ Scheduled Operations (such as crontab etc.)
✔ Remote Access, Operations & Downloading (port-forwarding required)
✔ Support For Scrapping From HTML,XML,CSV,TXT,XLS,PDF(Experimental) & More..
✔ Many More Features
## How can I run Tempest? All you need to do is downloading "tempest.php" file and locate it to root or any other place in your php server directory. Then you can call it from your browser as an example;
"http://localhost:port/tempest.php"
or from your commandline;
"**php /path/of/your/server/tempest.php**"
Tempest will generate its own subfolder structure and necessary files on first start-up. It is that easy.
**Note: It is strongly advised for Unix users to set proper ownership/permissions of their php server before first start-up to let Tempest generate its folder/files.**
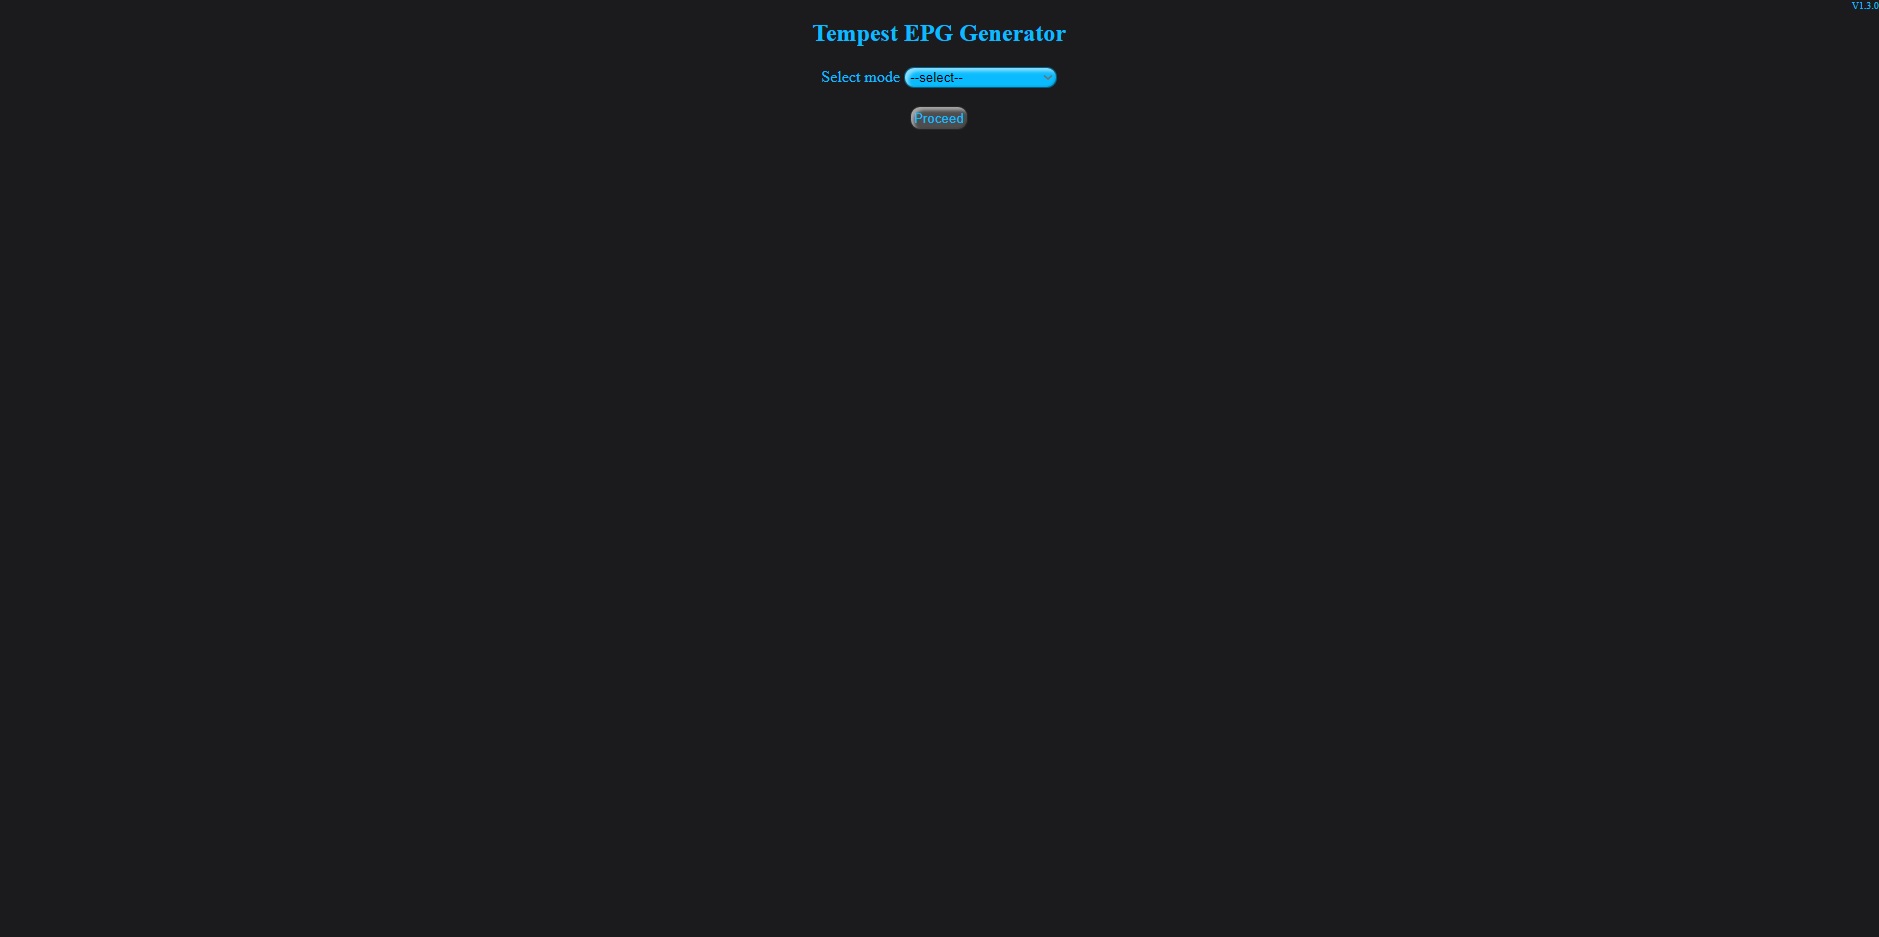
## What else I need for Tempest? Basicly, nothing except a running PHP server for GUI operations or php.exe file which can be downloaded from official php page. Tempest is developed on PHP 7 enviroment but should work fine with any PHP version > 5.3. Also some quick tests are showing that Tempest will work fine on PHP 8 (tested on PHP 8.1) ## How can I use Tempest? Once you run Tempest, you can choose one of the modes from drop-down list as;
🔹 Siteconfig Maker => You can create your own website configuration file
🔹 Siteconfig Debugger => You can debug choosen website configuration file
🔹 EPG Generator => You can generate your EPG file from choosen Tempest Configuration file
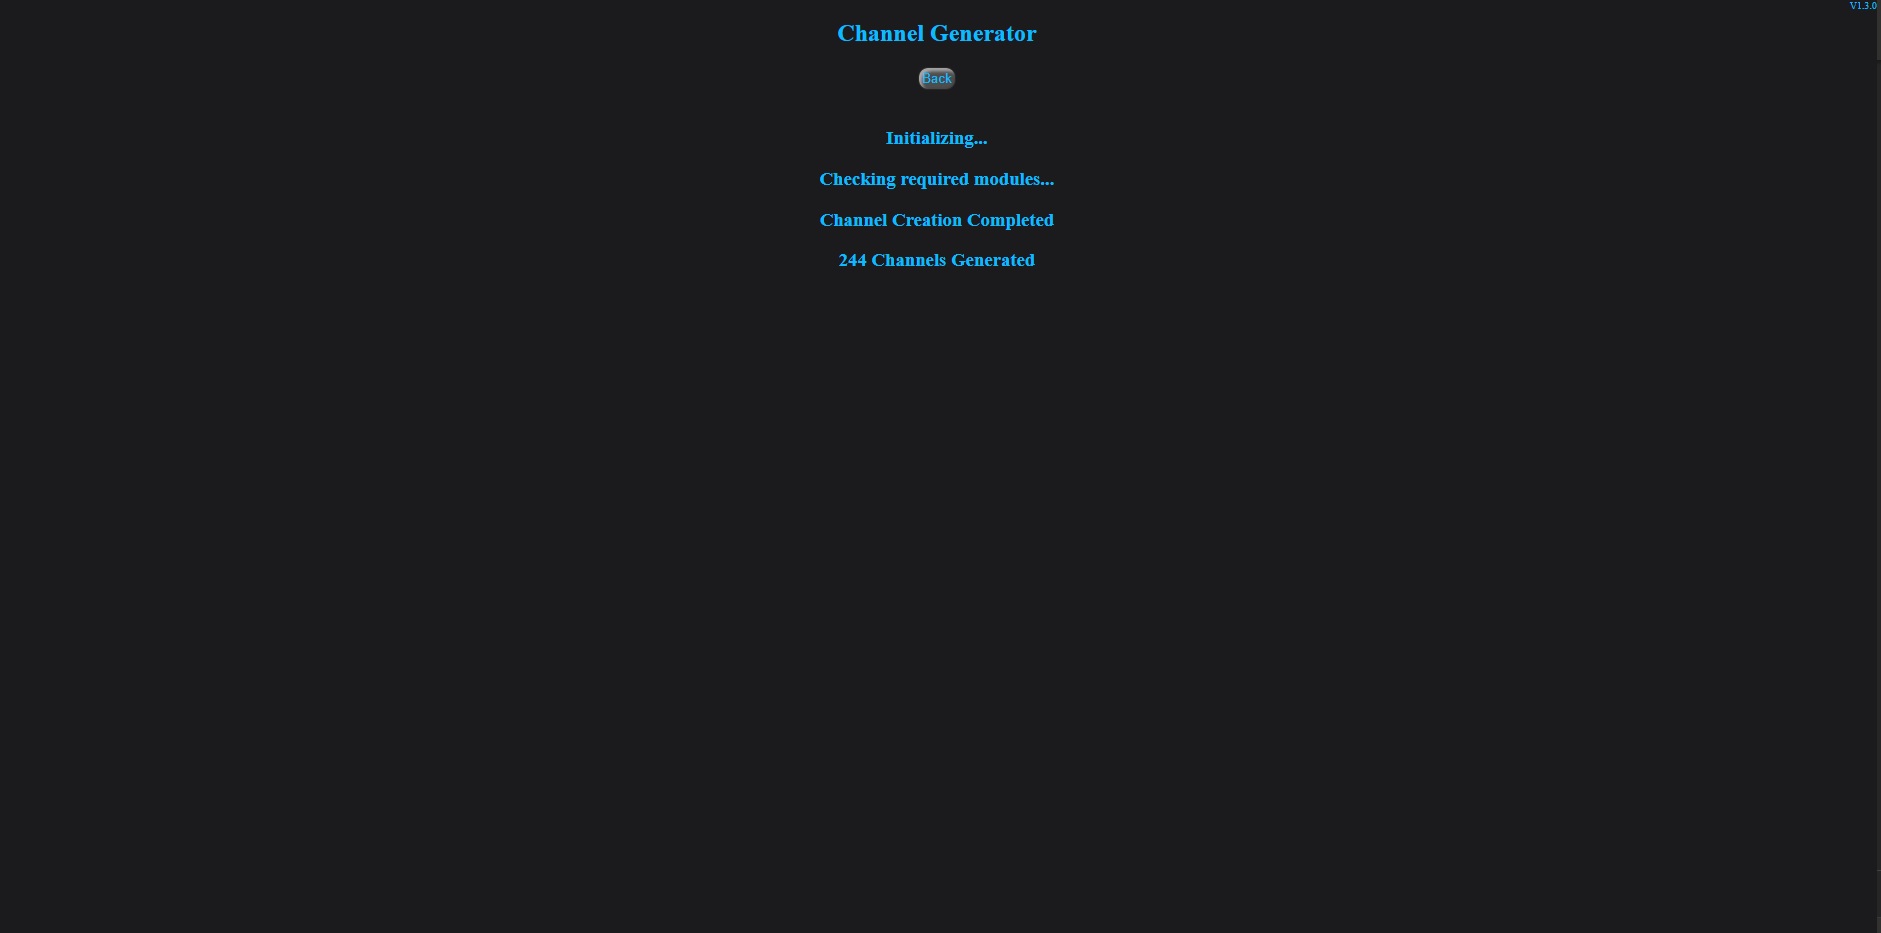
🔹 Channel Generator => You can generate channel list from choosen website configuration file
🔹 Siteconfig Editor => You can edit/modify or delete choosen website configuration file
🔹 Tempest Configurator => You can create/edit or delete choosen Tempest Configuration file
🔹 Siteconfig Updater => You can download the most recent siteconfig folder into your system as zip file
🔹 Tempest Updater => You can update Tempest into the latest version
🔹 XML Merger => You can merge multiple choosen EPG files into a single file
Also you can download ready-to-use website configuration files from repo and paste into tempest_config/site_config subfolder to use. ## How can I create my own website configurations with Tempest? To create your own website configuration(siteconfig) files, you will need an internet browser with "inspection" feature in order to find data urls and required url parameters. Then all these data may be inserted to predefined slots of "Siteconfig Maker". Tempest supports total of 10 async urls (4 for indexing, 2 for additional detail pages and 4 for channel list creating) which may be used with GET,POST,HEAD,OPTIONS,DELETE and PUT request methods. For scrapping EPG data from captured url response, you will also need basic level of regex(regular expression) knowledge which lots of how-to website may be found in internet, as minimum. Once you click "Save" button, your siteconfig file will be created in tempest_config/site_config subfolder. Regarding how to use XMLTV elements and Tempest command syntax, please take a look into **TempestWiki** document.  ## How can I create/update channel list with Tempest? To create or update channel list, choose "Channel Generator" and search for desired siteconfig name in drop-down list. Once you click "Generate" button, new channel list will be created in tempest_config/site_config subfolder.
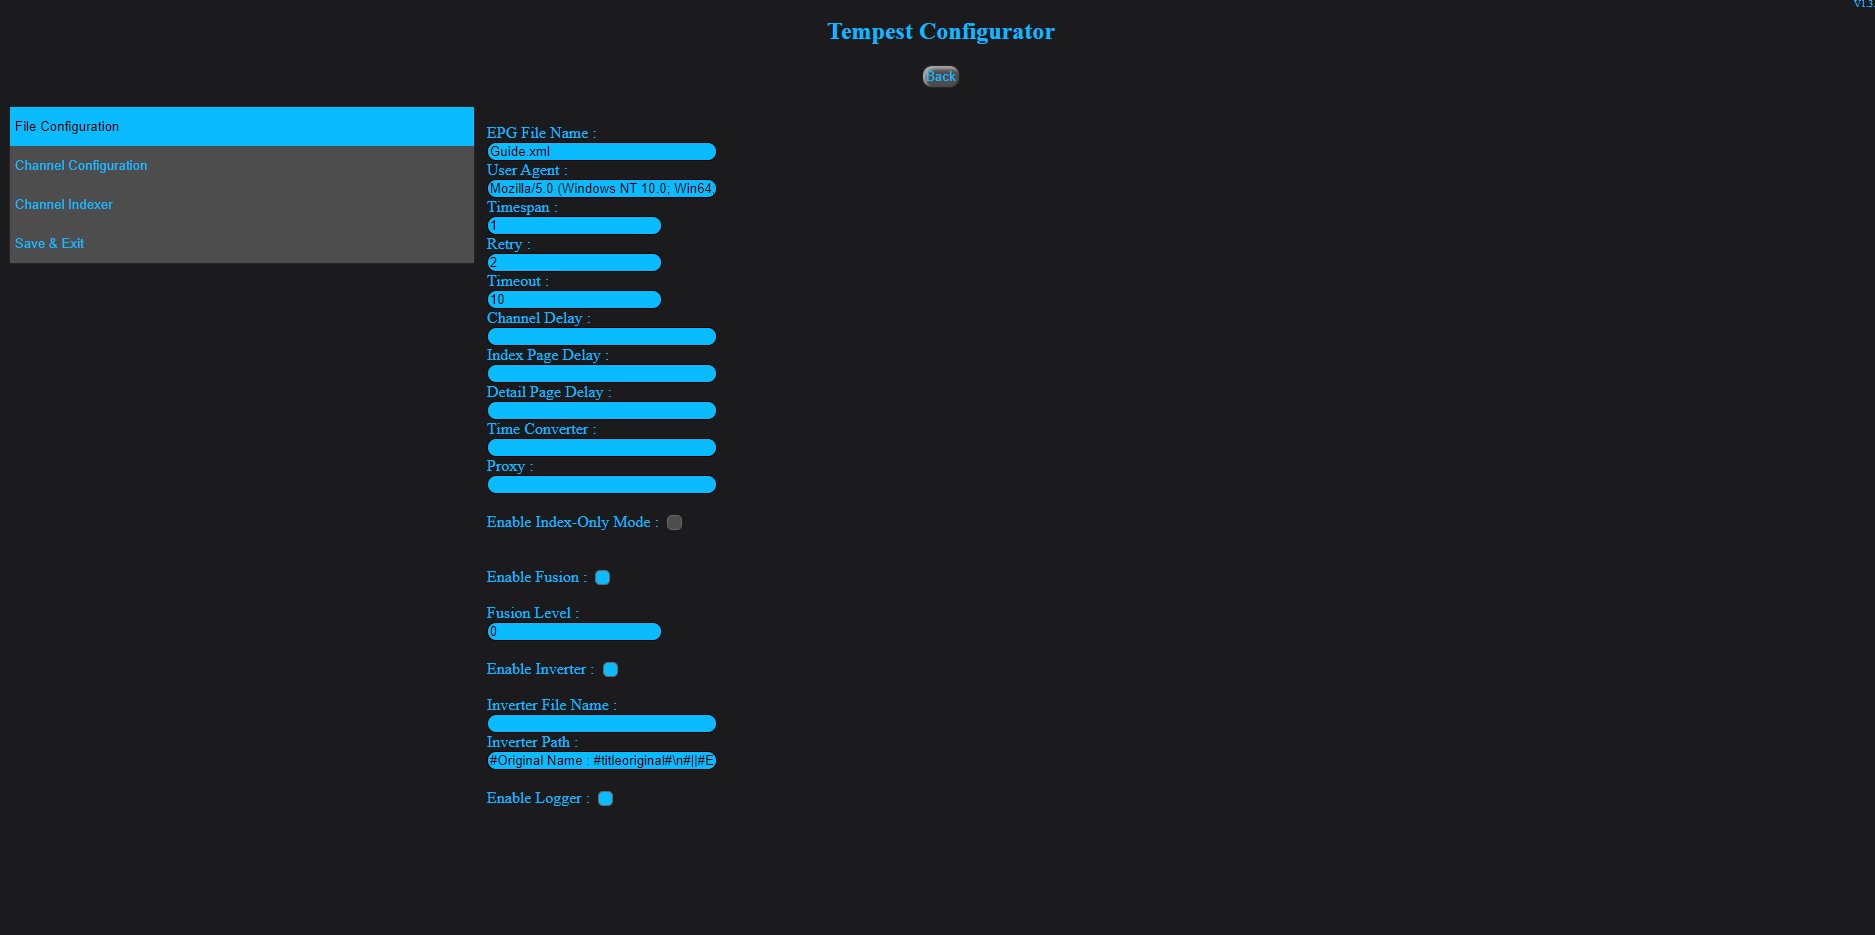
 ## How can I prepare Tempest Configuration? Tempest configuration file is an instruction list for Tempest to generate EPG file(s) in requested way/order. To create or update Tempest configuration files, you can choose new or an existing config name from drop-down list of "Tempest Configurator". In "File Configuration" tab you can set;
🔹 Name of xml file(s) to be generated
🔹 Timespan
🔹 Page/channel delays & retry/timeouts
🔹 Time converter module
🔹 Fusion module
🔹 Inverter module
🔹 Index-only mode
🔹 Logging
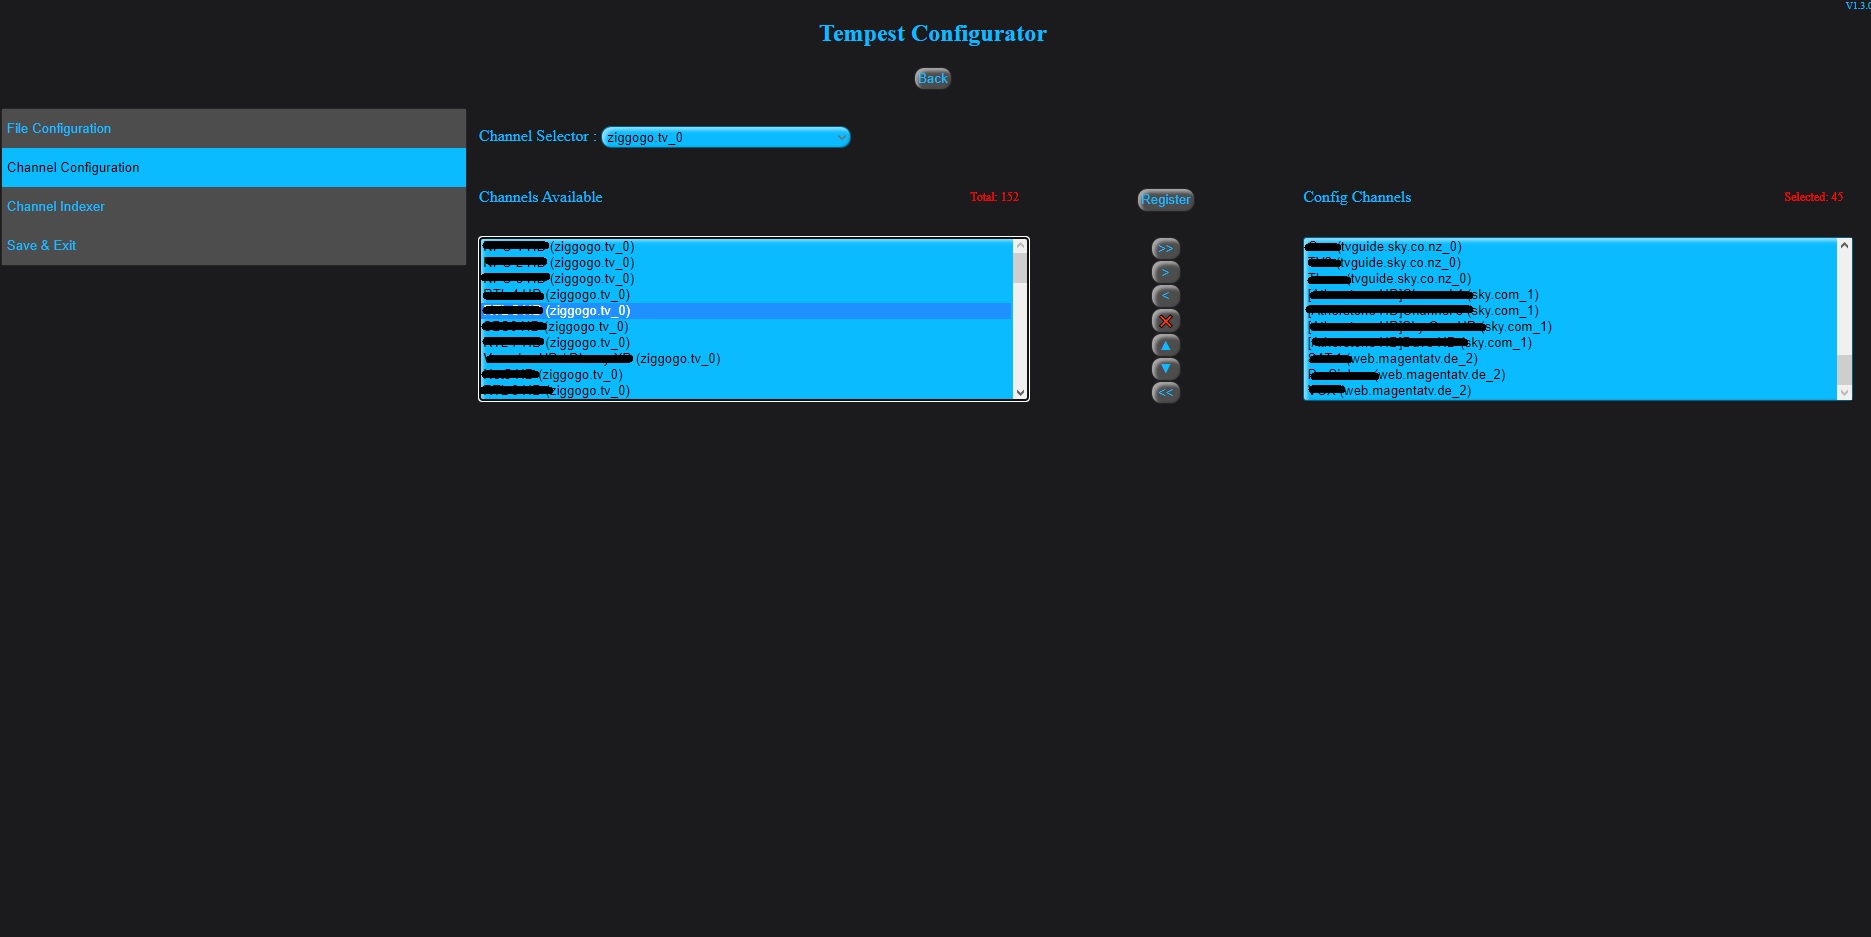
In "Channel Configuration" tab you can add/remove/change position of channels only with a few click and "Register" your channels.
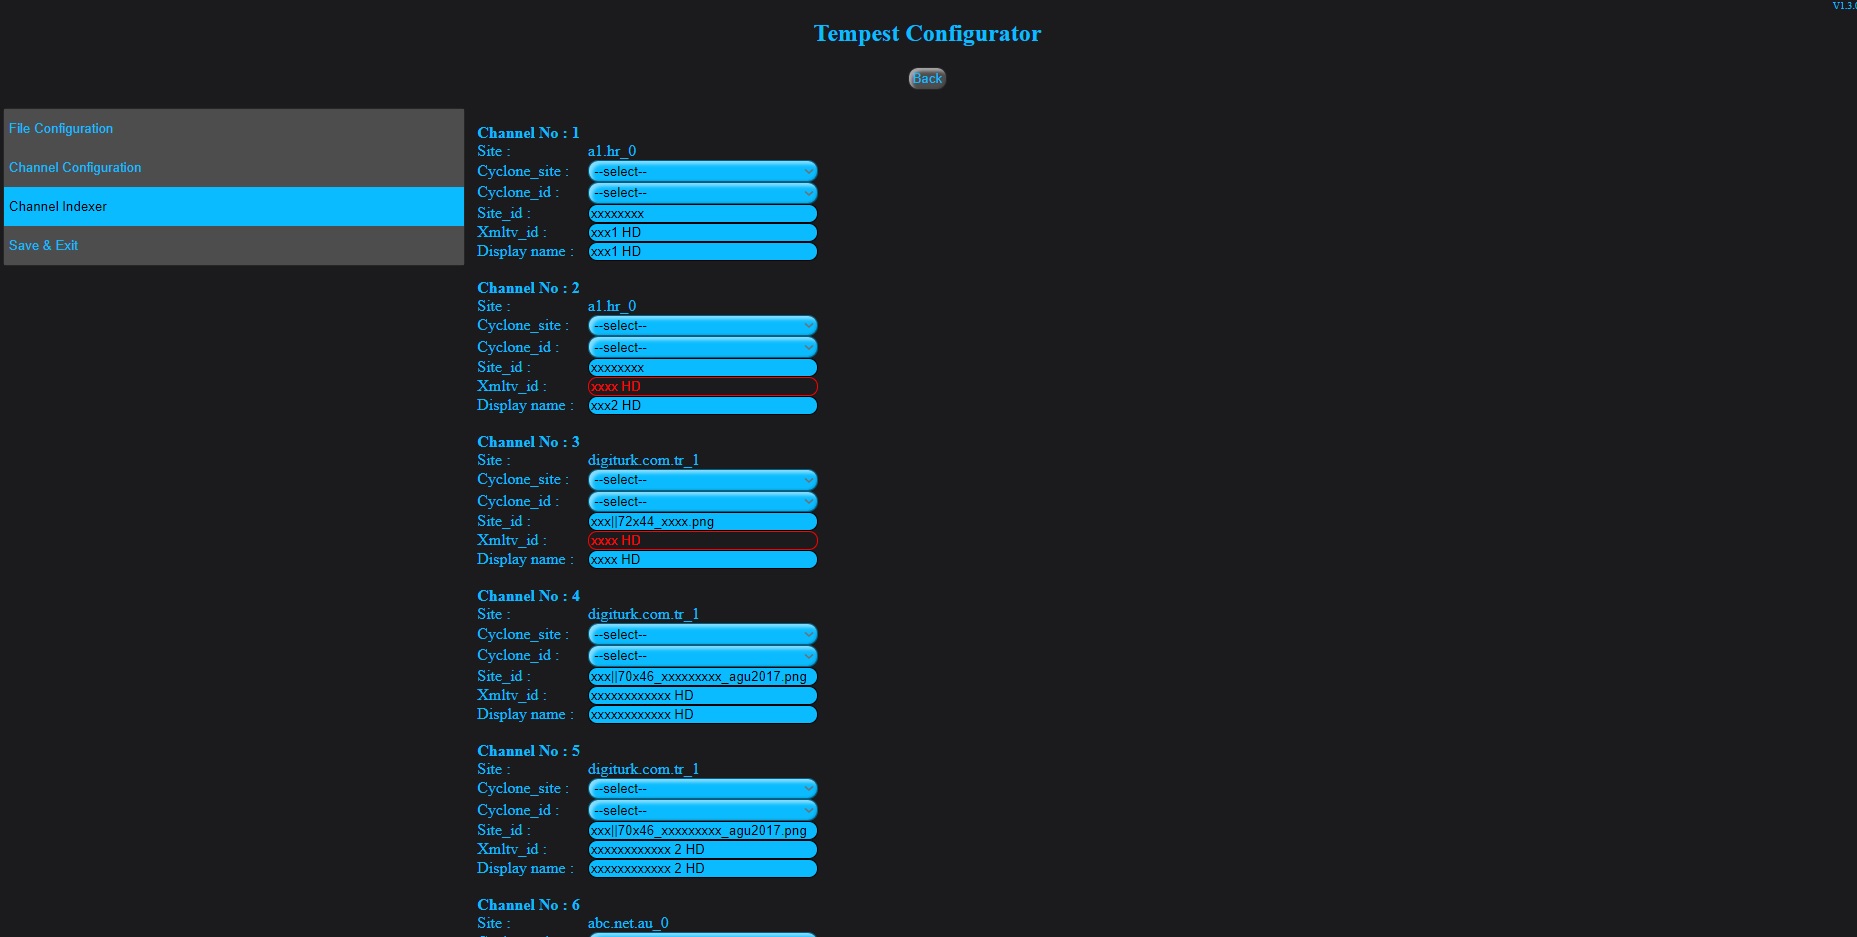
In "Channel Indexer" tab you can edit channel ids,xmltv_ids,display names and set cyclone module for channels. **Cyclone module** will automatically run when selected channel failed or returned with no data and update failed channel with selected cyclone alternative. Also auto-duplicate check for xmltv_ids will be done silently and duplicated xmltv_ids will be highlighted.
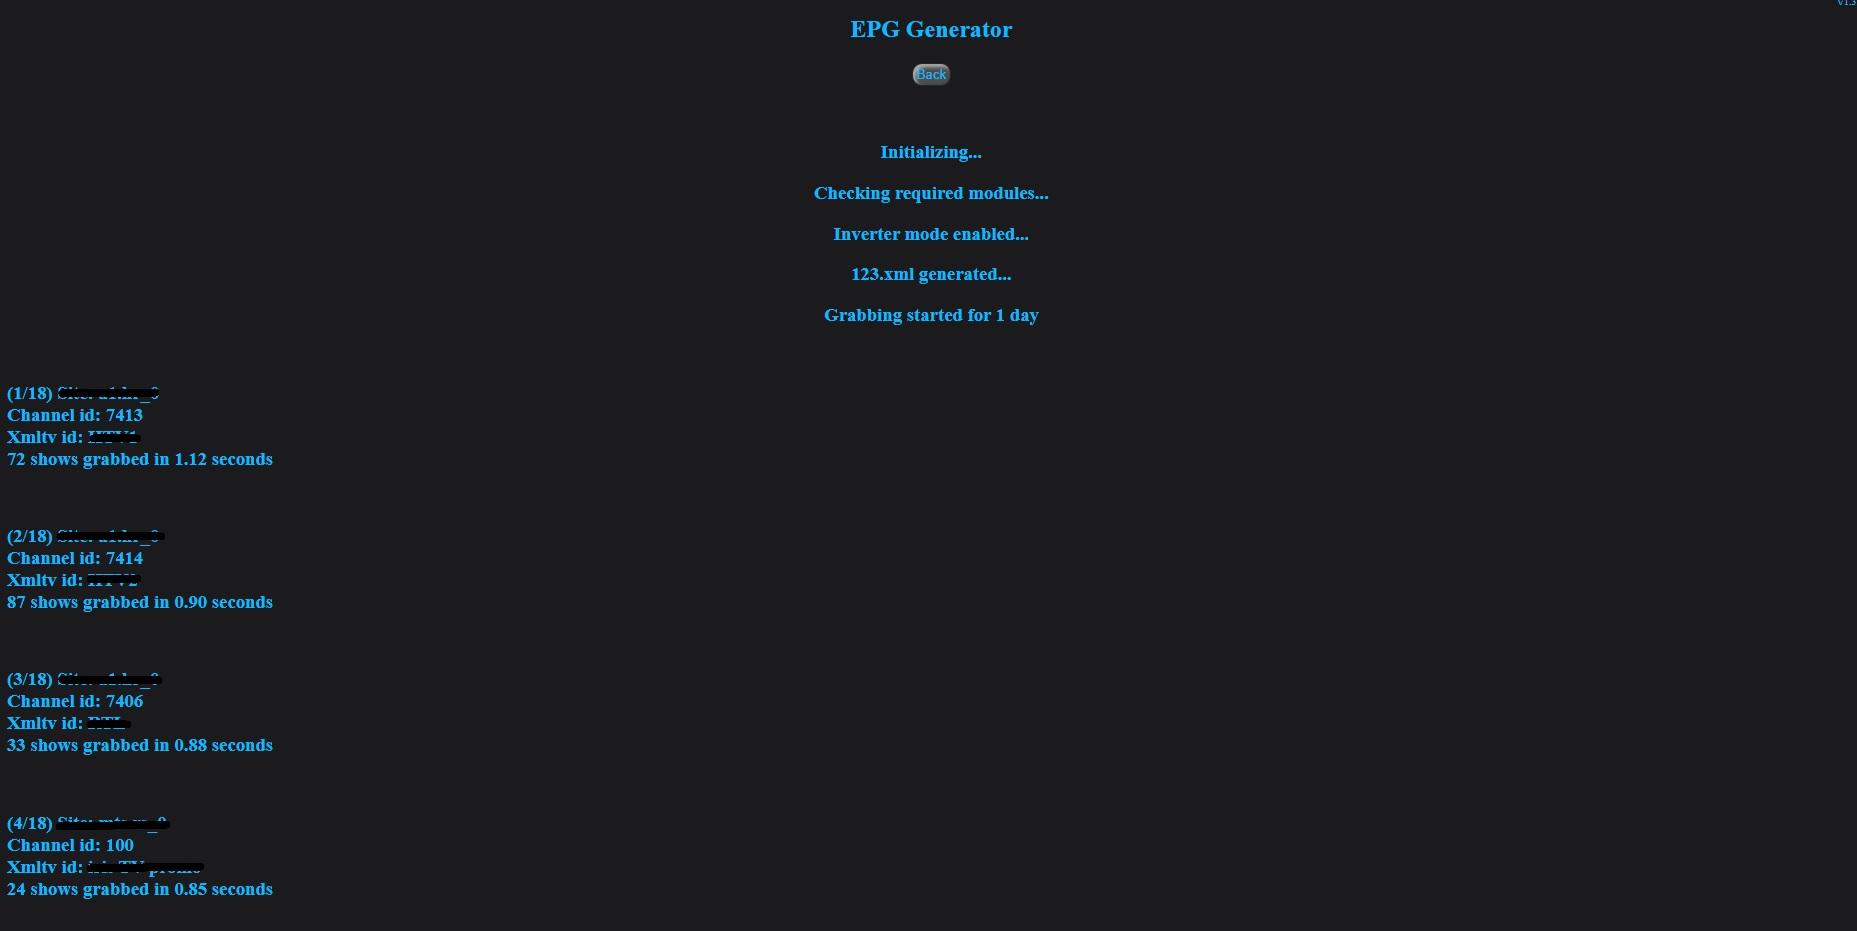
 ## How can I start generating xmltv files? After saving Tempest configuration file, you are ready to start generating your xmltv file(s) by choosing "EPG Generator" tab and selecting Tempest configuration file which you want to use, from drop-down list. Also from same tab, you can choose .gz compression for the files will be generated and download option for remote users. Please note that if you tick multiple file download options, you will download a single .zip file which contains all the files you requested.
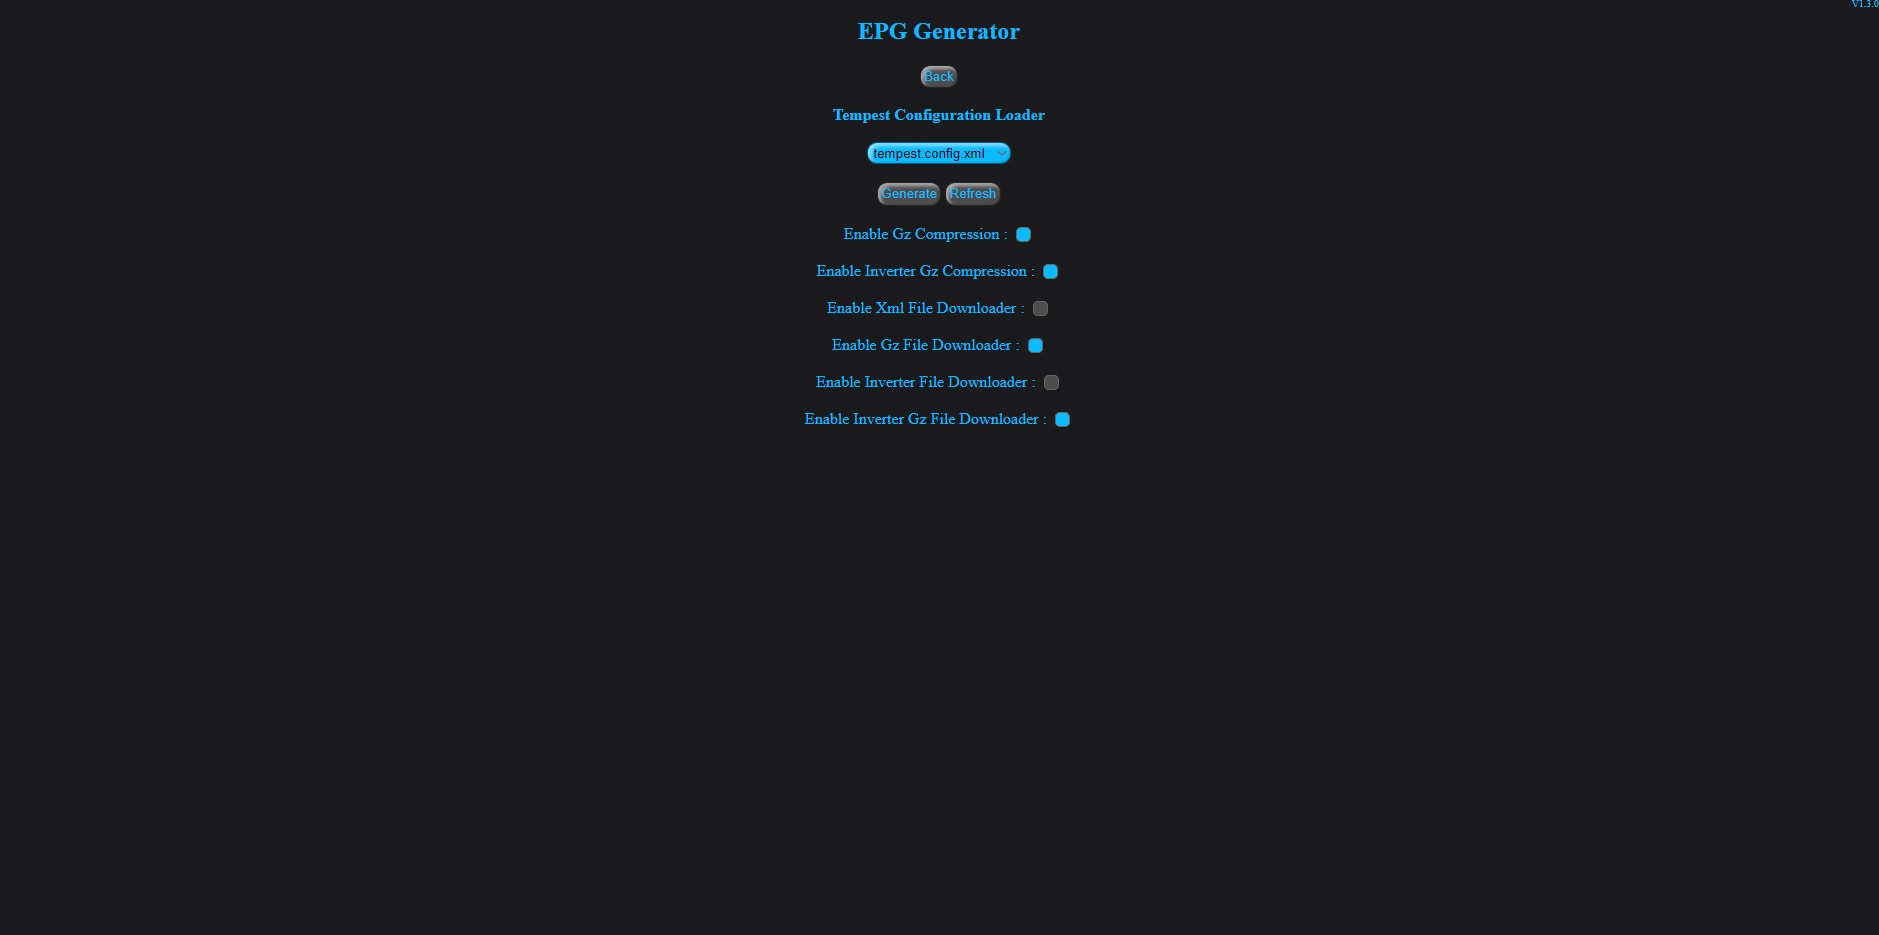
And clicking "Generate" button will start the process..
 ## **Important Note for UNIX Users** There is 1 very important setting needs to be done by UNIX users since UNIX OS is not allowing me to set this parameter from script side.
For NGINX;
**fastcgi_read_timeout**
and for APACHE;
**TimeOut**
parameter which server default is 300(5 mins), needs to be set some higher value such as 1800(30 mins) or 3600(1 hour). Otherwise you may have a timeout during the process after 5 minutes of initialisation. These parameters may be set as below for NGINX;
in /etc/nginx/nginx.conf file, set under http directive. It will look like;
http {
#.....
**fastcgi_read_timeout 1800;**
#..
}
and for APACHE; you need to change **TimeOut** value in your httpd.conf or vhost config file. New setting will be applied after server reload as below;
for NGINX;
**sudo service php7.0-fpm reload** (**"php7.0-fpm"** is the one I use so you have to modify it based on php version you use)
**sudo service nginx reload**
and for APACHE;
**sudo service apache2 reload**
or
**sudo systemctl reload apache2**
For Windows, I didnt see such setting or limitation. I think it is set to "no limit" by default for Windows.
# Tempest EPG Generator Docker * Multi architecture support as amd64, arm32v6, arm32v7, arm64v8, i386, ppc64le, and s390x * Built-in Nginx web server on port 8095 * Built-in Php8.3.15-fpm * Alpine Linux 3.21 for the smallest footprint * Supervisor support for controlling processes * Non-privileged user for easy setup/file handling * Around 35MB image size ## How to install Tempest Docker image? docker pull kvanc/tempest_epg:latest ## How to start Tempest Docker container? docker run -p 80:8095 -v "/your/local/folder/:/var/www/html/tempest_config/" kvanc/tempest_epg Please replace "/your/local/folder/" part with absolute path of your folder to access generated Tempest folders ## How to adjust Tempest Docker container? If you need to change php.ini settings for timezone(default is Europe/Istanbul) or php memory setting(default is 128M), first create a 'php-user.ini' file as below example; [Date] date.timezone=Europe/London [Memory] memory_limit = 256M then you need to mount it into another point as below; docker run -p 80:8095 -v "/your/local/folder/php-user.ini:/etc/php83/conf.d/custom.ini" -v "/your/local/folder/:/var/www/html/tempest_config/" kvanc/tempest_epg If you need to change php timezone, I suggest you to change also docker container timezone(default is Europe/Istanbul) to same by running container with TZ environmental variable as below; docker run -p 80:8095 -e TZ=Europe/London -v "/your/local/folder/:/var/www/html/tempest_config/" kvanc/tempest_epg ## How to run Tempest Docker container on scheduled operations? To run Tempest out of container or to use on scheduled operations such as Scheduled Tasks or Cron, you may use below command to run it as root user; docker exec -u root yourcontainername php /var/www/html/tempest.php --epg Please replace "yourcontainername" part with name of your Tempest container. This command can be used with all other Tempest Cli commands and arguments(Channel Creation, Update etc.) for running Tempest out of container.
You can also make the same settings via Docker Desktop;
# Sponsors ❤️ Special thanks to my Gold Sponsors..

## For more detailed information about usage and features, please take a look into **Declaration** and **TempestWIKI** documents..


